3.23.2012

Project for the day: Another curtain

While getting the fabric for the curtains in the bow window, I found a gorgeous semi-sheer fabric with stripes and flowers on it that was also on sale! I always love a good deal and knew exactly where this fabric would look wonderful- in my black and white kitchen! So now I have a cool curtain over my sink (using the 6th rod from my bow window experiment). Excellent!

I've been extra crafty these last few days- be impressed :) This is rare to have that many projects in such a short time. What to do next? hmm....

3.22.2012

Project for the Day: Curtains


 Remember that gorgeous bow window we had installed? If not, here's what it looks like with my normal curtains tucked behind stuff so you can see it. I like being able to see the bow window but this way there is no privacy... I've been struggling with how to fix this since I'm not a huge fan of being on constant display, but I definitely want to see the lovely woodwork on that seat. Here's the major issue- the top of the window is also oak and I really don't want to drill into it, but there aren't many options for attaching a window treatment to a bow window. Especially a vinyl window (because I don't want to void the warranty on the windows by drilling into them.

Remember how I said I love solving problems...here's what I came up with:
Magnetic cafe rods and dowels with command strip tape. The only magnetic curtain rods I could find were these (which were not quite long enough, but the rod portion was hollow, so I used a small dowel instead of the small portion of the rod. I then connected the magnetic edge to a command strip and attached it to the vinyl window (since vinyl isn't magnetic). This allowed me to attach the curtains with no holes in either my windows or woodwork. Yay! Also, a bonus - these rods come with two per pack, so I only needed three to do the whole window.

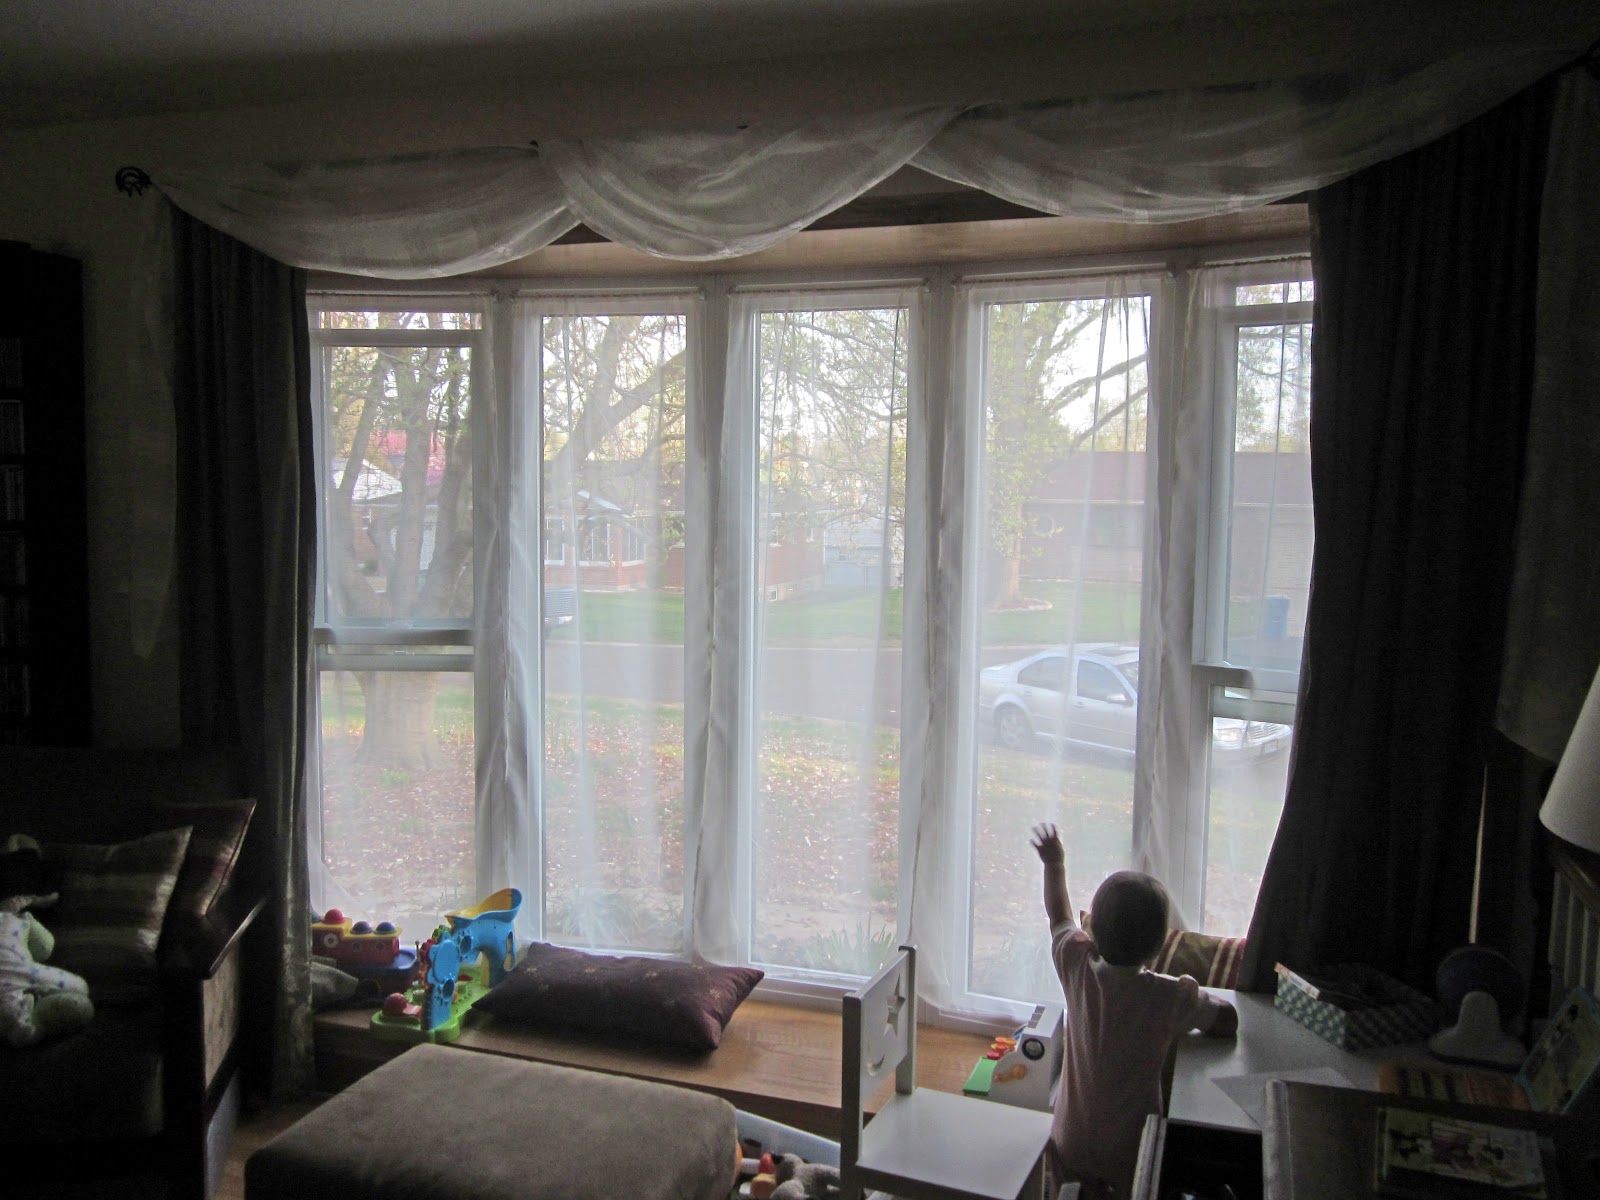
After I figured out how to attach curtains- I had to make curtains to fit these small rods. I decided on sheers since they give some basic privacy while still letting in lots of light and prevent the necessity to move the curtains to see outside in addition to being relatively light in weight so they shouldn't pull down my rods. I waited until decorators fabric went on sale at the fabric store and scored 6 yards of a sheer fabric perfect for my windows for less than $4/yard.

Sheer fabric is tough to work with, since it slips all over, but I got it cut and hemmed for each curtain rod and then put up the panels. I think it looks pretty good! And I love that I can see and use the window seat. I removed the other sheer fabric curtains that were previously on the bow window and hung those over the patio sliding door to give us a bit more privacy there too. Aren't they lovely :D

3.21.2012

Project for the day: Recover the chair


Do you have any items in your house that you know you would feel absolutely awful if they were damaged? I do, and most of them are heirlooms (that probably are more sentimental than valuable, but still priceless). One such item is the chair cover for the chair I use at my desk.

The chair is an older style with a pink upholstery cushion which is the perfect height to fit at my desk at which I work (and is definitely a step up from sitting on the ottoman or an exercise ball (which were both, just a hair too short for typing comfort). The cushion was hand-embroidered by my mother-in-law’s grandma (so my daughter’s great, great grandmother) and is lovely.

I was rather nervous about accepting the chair when it was offered because I was going to be sitting on it every single day (instead of very rarely as it was accustom to prior to entering my home) and any sort of constant use is going to create wear and tear on an item, but my mother-in-law was insistent I take it, so it came here. The point where I decided I had to save the covering was when I began toilet-training my daughter. She has been in the process of training for a little over a week and has had about one accident per day on each of my other chairs (which are scotch-guarded and so more of an inconvenience than a problem). I wanted to be sure I could save the covering for when this chair isn't getting so much use and also so my daughter would be able to see the lovely work her great, great grandmother did. 

So the first thing I did was remove the cushion to determine if it was possible to remove the covering in one piece. It had the protective black fabric found under most chairs, so I had to carefully remove the staples to that so I could see that the cover was also stapled, but otherwise it came off very easily. Once I had removed it I was able to add to the batting under it (which mostly was in really good shape) and cut out new fabric (from a scrap of fabric I had left over from a pillow I made a few years ago) that was big enough to cover the area from the former cover.

Then I went out stretching and stapling the fabric over the batting and smoothing it out so it would fit on the chair. (turned out pretty good). I then scotch guarded it so I could clean up any accidents easily and maintain the batting looking good prior to putting it back on the chair (since you don't want scotch guard to get on the woodwork). So after waiting for it to dry (and only falling through the lack of seat once when I went to sit down- oops) I reassembled it. 

Here is the finished chair. Because the fabric matches pillows in the room, it looks a bit more cohesive having my desk in there and I have the piece of mind that if I use it every day I won't ruin a treasured family heirloom in the process. Double win!

3.20.2012

Project for the day: Toy box

I’m playing catch-up a little bit today. I’ve been a crazy crafter as of late and wanted to be sure I covered everything that I have been doing.

First off, I’ve been in a bit of a funk the last few days- just a bit cranky and overwhelmed, but like most individuals with that sort of mood thing going I tend to take it out on those closest to me (so my husband) which is unfortunately not much fun for anyone involved. (I’m actually surprised he hasn’t started calling ahead before determining if he wants to come home or not. Anyway, not the most productive way to deal with crankiness.

You know what is productive? Crafting to take care of moods! I really do enjoy working on something that I can focus on and that I can look at later and say, “I made that” as it is a pretty rewarding feeling and gets those good endorphins flowing. I also love solving a problem when I craft, since it’s then an extra rewarding experience…hence the toy drawer.

see all the toys that were
under the loveseat!
We have a fairly compact house and since I work from home and watch my daughter full time, I wanted to be sure I have a lot of fun activities for her while I work. So, in the family room upstairs we have a lot of toys that have been hanging out under the loveseat in a makeshift drawer. Here’s the issue- we have way too much furniture in the family room (a china cabinet, an extra dining room chair (for company), two comfy chairs, a CD tower, an ottoman a kid’s table and chairs set, my desk and chair for work, an end table a floor lamp and a loveseat). This wouldn’t be a huge problem, except we also have an open staircase in the room which my daughter is fascinated with and a large bow window with a window seat. I don’t want to put large furniture in front of the window seat (as that would defeat the purpose of the window seat) and I don't want chairs that my daughter can climb in front of the stairs (as she likes to look over and isn't as scared of falling as I am). So that removes two whole walls of space and the room isn't large enough to have anything bumped off a wall...so the loveseat (which was in the least pristine shape of all the furniture) got donated to a charity - leaving a large mass of toys with no home.


I originally thought I would use the large plastic storage container that is in that picture to put the toys under the chairs- but that resulted in a lot of unused space, so I thought I would try my hand at making a custom toy drawer. I don't have a table saw, and no wood to do it anyway (and since I am on a huge budget saving kick at the moment (we're doing pretty good on that score- but that may be contributing to my mood...ah well, back to the box) I decided to make a cardboard box into a fabric covered drawer. Here is the spot that it needs to fit...here is the largest (flattest) box I had. Here is the tricky part. These chairs are not square.

The drawer had to be a quadrilateral measuring 25 inches in front, 23 in back and 22 inches long. It then could be up to 7 inches tall (if I wanted to make a handle on it) or 6 inches to allow for pulling out without the handle (I opted for no handle). Other issue- I have a cat...a long-haired cat. That meant I had to use a fabric that wouldn't automatically attract hair and was thick enough to be pulled across the floor without showing instant wear. So I seached through my bins and found a large piece of duckcloth that was in a mostly unoffensive pattern. 

I started by cutting apart the box into flat portions so I could measure out the perspective items. first I found a piece that was both 25 inches long and 22 inches wide. I then measured one inch off each side to determine the 23 inch side and trimmed accordingly. I then went about cutting twelve inch walls by the length of each side (and created a score line to fold the box sides and attach them to the bottom (while giving a little support). Once I had all the sides attached I temporarily taped it to make sure it fit (see), then laid it flat with the sides laying down on top of the fabric so I could cut the appropriately sized amount. After that I used Mod Podge to attach the fabric to the box, and some industrial duct tape (in a funky pattern) on the inside to prevent the box from being ripped apart when pulled by one side multiple times). 

Tada! Finished box in a black and white check pattern. that fits over half the toys (since I could only make one from the fabric/box I had available- I only made one (so the plastic bin will sit under the other chair until I have another large box come in) and can get some more fabric. 

Look for other project tomorrow!

2.24.2012

Project of the day: Flower Girl Dress

So I managed to get the flower girl dress for my daughter completed last night! Here is the before (as I once again forgot to take a picture of the before I found it online...sadly no picture of it without the sweater on- but you get the idea).

It is a pretty cute little dress and is a nice ivory color so will look lovely with all the other dresses. Here is what I did. With the wider plum-colored organza ribbon I had purchased I pinned three layers of the ribbon over the belt (I needed three layers to make the ribbon opaque and look plum because I was unable to locate the ribbon in the same color that was not transparent). I then hand-stitched down the middle of the ribbon and around the button holes (the belt is buttoned in the back and there is no bow). Then I added 1 rose and several hyacinth flowers with ivory pearls to hold them on to the belt and the sweater to give it some more character. The weddings in the spring North of home so it may be sweater weather.

Here's how it looks now:


I think it'll look so darn cute with that head-wreath! Can check that off my list now :)

2.22.2012

Crafting Project: Flower Girl headpieces

My daughter (who is 18 months old) has been selected to be a flower girl in an upcoming wedding for her Aunt (my younger sister). It occurred to me just recently that I have been in over 9 weddings personally (this will be my 10th as I'm in the same wedding as my daughter), and due to my family size (I'm the 7th of 10 kids with an extensive extended family) there's always some special event to attend. But I had never before realized how pricey it is to participate in a wedding with a kid in it too. Flower Girl dresses and head wreaths and shoes, baskets, etc are really not proportionally priced (nope- that child's size 5 shoe costs the same as my adult 6.5...I know I'm slightly behind for not realizing this before).

My sister has been an angel when it comes to allowing some wiggle room (since my daughter won't be 2 yet and the dress she had selected for the other flower girls didn't come in a smaller size) she allowed me to select a nice inexpensive ivory/champagne colored dress and I will be adding plum accents to it. (Her wedding will be lovely with sliver, champagne and plum as her colors). The dress I bought is cute and will be adorable when I add the plum sash to it. (I promise when I do it- I'll post pictures).

The sticking point for me was the head wreaths. My sister had selected head wreaths that matched the other flower girl dresses (and would have looked lovely with my daughter's dress too) but they were too big for my daughter's head (she is rather petite) and cost $30 a piece! Which isn't horrible, but since she's 18 months I think it would be wishful thinking to expect it to stay on her head past 2 minutes...and potentially will be trashed quickly). I luckily have a very understanding sister who allowed me to make my own head wreath for my girl (as her dress was different anyway) so here's what I came up with:

I went to Hobby Lobby with a swatch from my dress as I am short and had to shorten it to avoid the embarrassing potential tumble down the aisle (a plum color) and matched it to two widths of un-wired organza ribbon. Then I found a lovely cream/ivory/champagne ribbon. I also found small roses and a hyacinth in plum to use. Then I brought all home and measured my daughter's head so I would have the right length of wire to use. I do jewelry making for fun, so I had some jewelry wire to start from and few ivory color pearls to secure flowers with on hand.

I started with a circle of wire slightly bigger than her head, then wrapped a second wire around that and added flowers as I twisted to make a simple wreath. The roses were on a post so when I removed the post it left a small hole in the center- perfect for stringing the wire through, adding a pearl and then stringing back through the hole to continue wrapping. After I had made it all the way around I wrapped all the wire with the ivory ribbon (to prevent any poking or wire from showing) then wrapped it loosely with the plum ribbon. At the end I attached several long ribbon strands and made a bow to have the streamer look of the expensive variety. I think it turned out quite lovely.
Here it is on my little girl (while she enjoys her breakfast). The downside of course is that the ribbon and flowers cost $21 for all of them. (So only a 9 dollar savings) However my sister loved it so much she asked if I would make the other two for the other flower girls (and bonus- I used less than 1/3 of the flowers on the silk plants I bought). So It ends up being only slightly more than $7 per head piece- which is a huge savings for all of us. And I think these will look just a bit more lovely than the $30 ones as they are exactly the bride's colors.

Here are two of the finished ones- my daughter's is the large one and the really small one is for a little girl who will be wearing her hair in a bun and wanted a wreath to go around that instead of the whole head. Should look adorable on her too! I do have to go and get some more of the ivory ribbon, and I ended up using champagne faux pearls on the other two as I ran out of ivory ones and then I will be doing the other one. I should be good on flowers (as the little one used fewer flowers so the last wreath should be just perfect for the last little girl. Tada!

Yay for weddings allowing you to continue your crafting obsession and save some money in the process. Once I alter the little flower girl dress I will post about that too. I still have to re-hem my dress and then the extra material may be used for another project as well. We'll see.

2.02.2012

January in review

I know I have mentioned I have been doing a lot of invite work (wedding invites, parties, etc). And of course we built a fort- which has been tons of fun, but in the back of my mind I was curious...what'd we spend. And since I want to be completely honest and straightforward on costs I'm going to share amounts (all except the actual debt amount which I don't feel comfortable sharing). So let's see:

We spent (minus the plumbing bill which was out of my control) a grand total of: $346 (I rounded up for ease) in the month of January! This included food, gas and any "other" items. How that broke down-
$158 on food (not bad considering we made guacamole for a party which was nearly $10 for avocados alone and made cupcakes from scratch for another- which remarkably were pricey).
$101 on other (gifts, household items like detergent, mailing supplies, etc) and then
$117 on gas...also not bad since my husband drives for work.

We were pretty proud of ourselves though- we made every meal at home this month and didn't eat out at all (except family dinners at other people's houses). We didn't go to any entertainment that cost anything.

All resulting in having a bit more to go towards our debt. I would love to say that it was thousands that could go towards our debt, but we've always been fairly frugal so maybe one to two hundred extra. Which, frankly isn't enough to cover the interest on a credit card, but it meant more of that payment went to the principal which is how things get paid down.

In addition, I have been doing the LearnVest debt boot camp which gives you tips to improve your financial standing. So that's been helpful as well. If you have any debt you've been pushing under the radar because you're nervous about facing it- it's a good tool to look at (also, free so definitely worth it).

Something else that has assisted us is this extra mild winter. This week I have played outside every day with my daughter because the weather has been in the 60s, but I've also had my windows open and the heat off for a portion of the day. That should make a big difference on the gas bill for the year (we do budget billing so we won't see a change right away). Also, part of that $101 above for other...I spent $40 (plus a $30 amazon gift card I had) on new CFL floodlight light bulbs that can be used in can lights for the basement to replace all the incandescent light bulbs. They claim you save approximately $40 per light bulb by switching so we should be saving $440 on those alone eventually. I'll do a review of them once I have them installed and see how they compare to our current light bulbs.

Also, for energy saving purposes, we put the fort back up downstairs to hold in all the warm air from the fireplace/heater we have down there since the room is so big. It's amazing what a difference in temp there is just going outside the fort and we can turn off the heater sooner.

So over all January was great for cost savings, but kind of was hard on my crafting...we'll see what I can do about that.

to leave you with something fun: here's a picture of my daughter enjoying our mild weather. Happy Groundhog's day!